This Samsung 27″ monitor recently stopped working and would not stay on. After power-up, it shows the menu and input-source, but then shuts down again. Interestingly that is the same behavior as described in this reddit post. The only comment in that post says
test the LEDs. if one is bad, the entire system enters shutdown
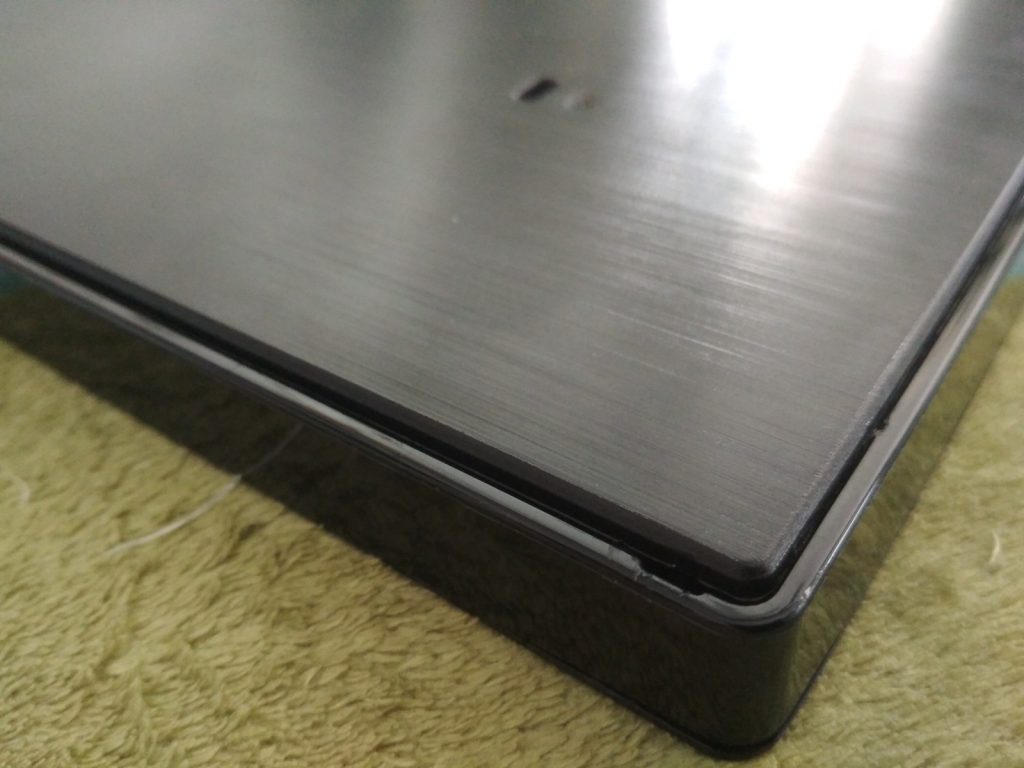
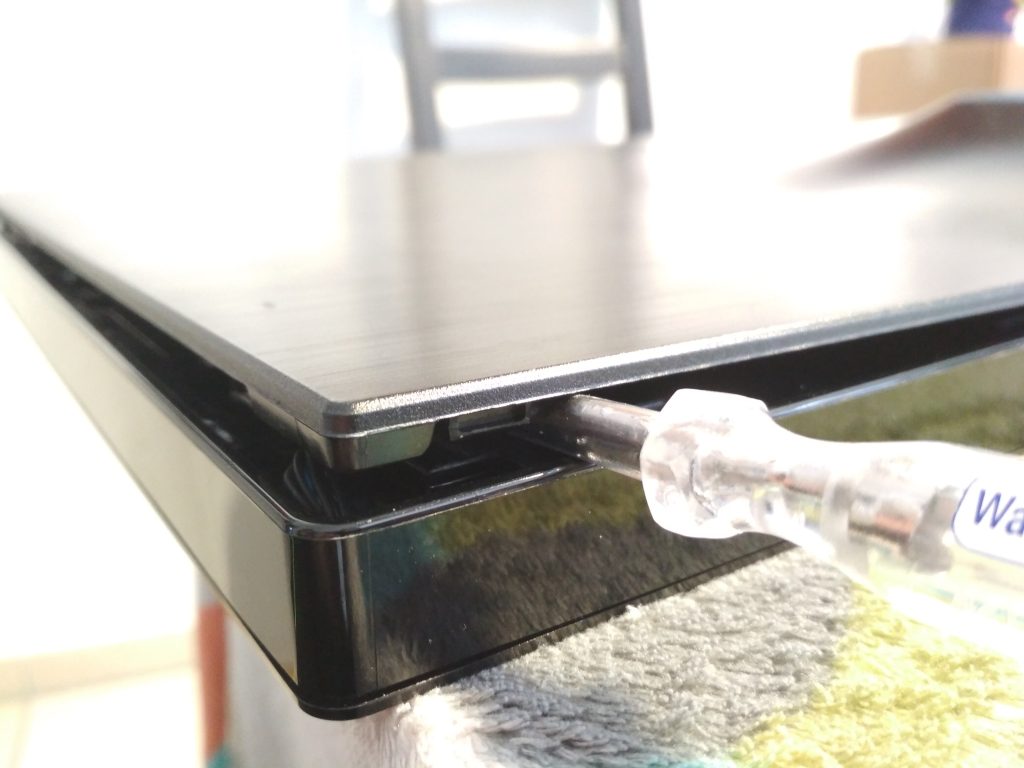
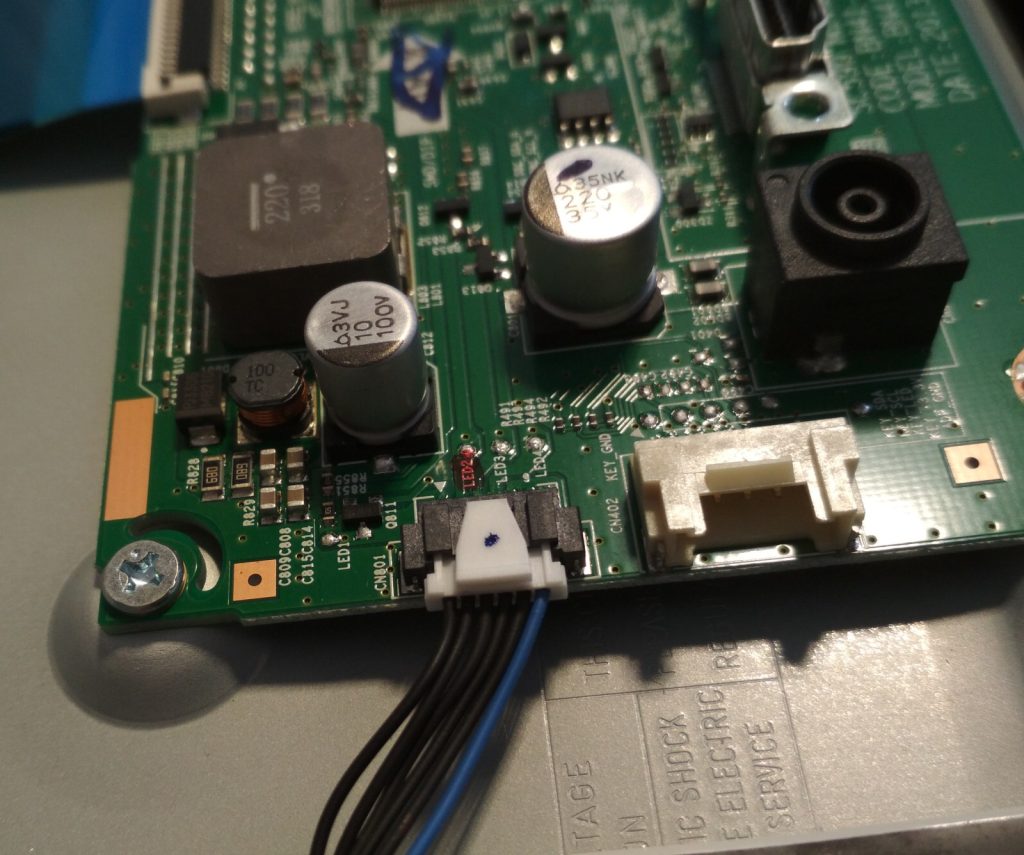
So lets do that (info on how to open that thing is at the end of this post). I started by looking at the negative side of the LED supply on the mainboard. As you can see, I marked of the test-points (LED2) red because that corresponds to the LED stripe that does not work properly. The voltages on the LED test points should be close to zero, the working ones had about 0.8V. The channel with issues was about 18V, but quickly dropped since the controller did detect this and restart the system. The positive supply of the LEDs has 68V. That matches the information from the reddit post.
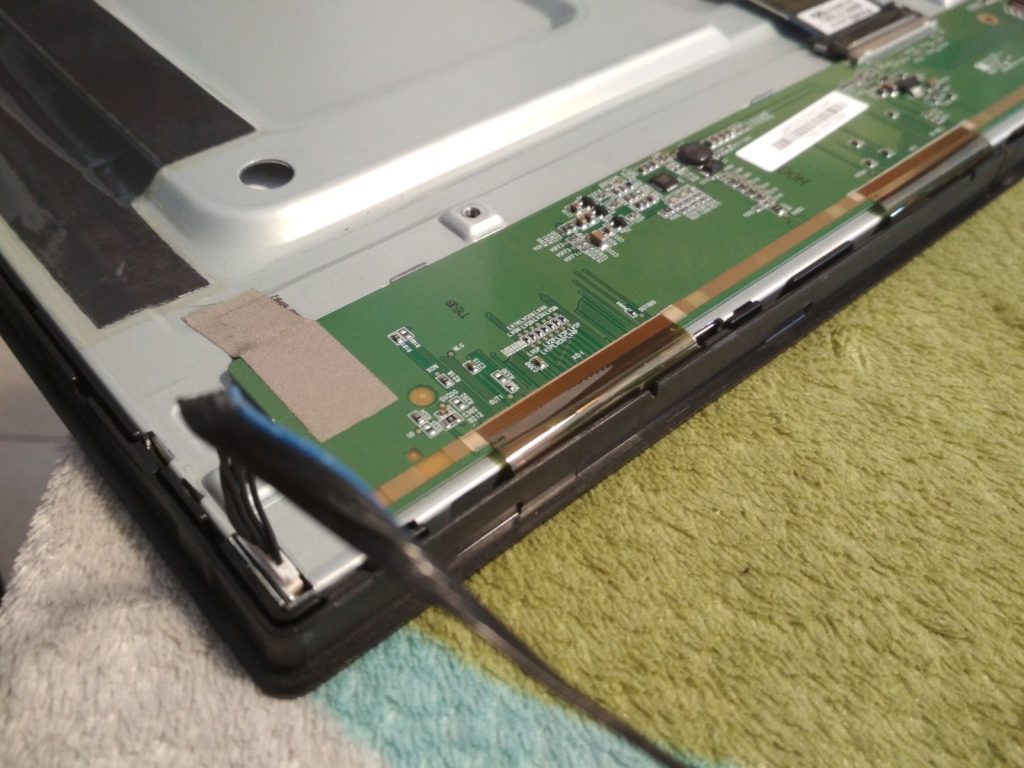
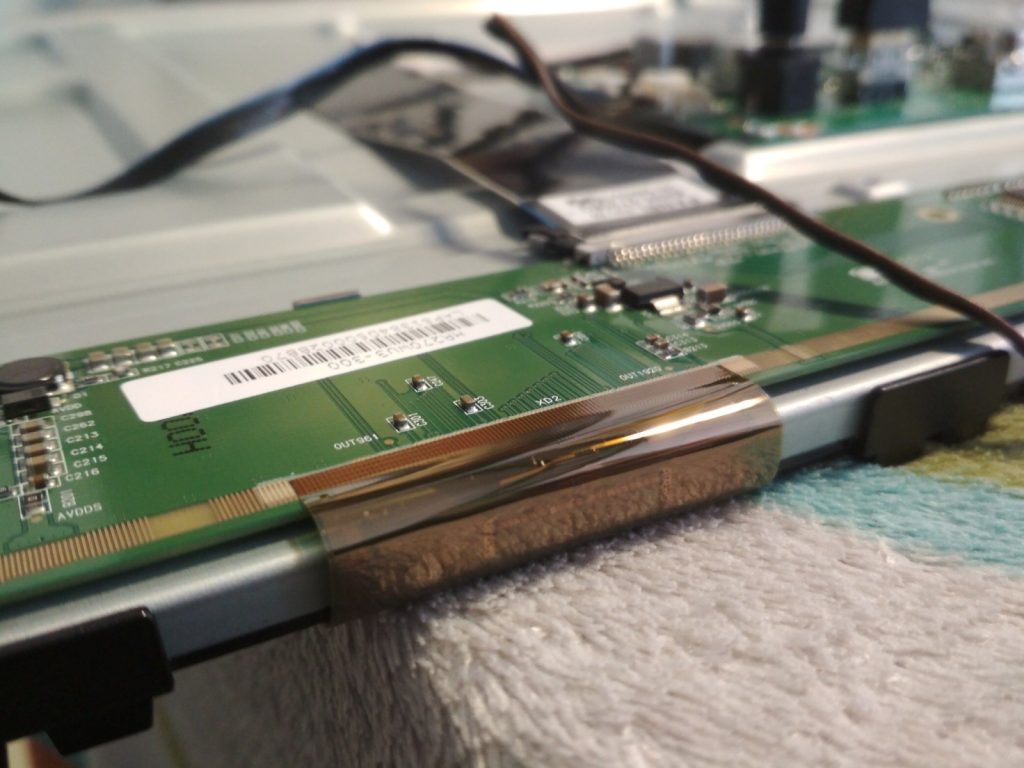
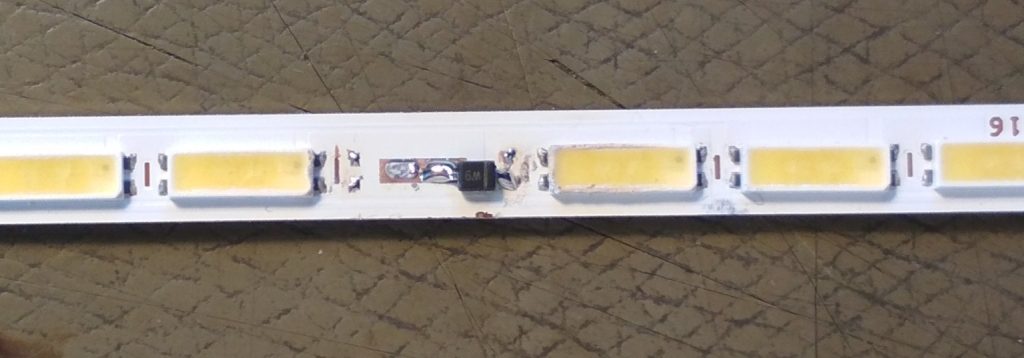
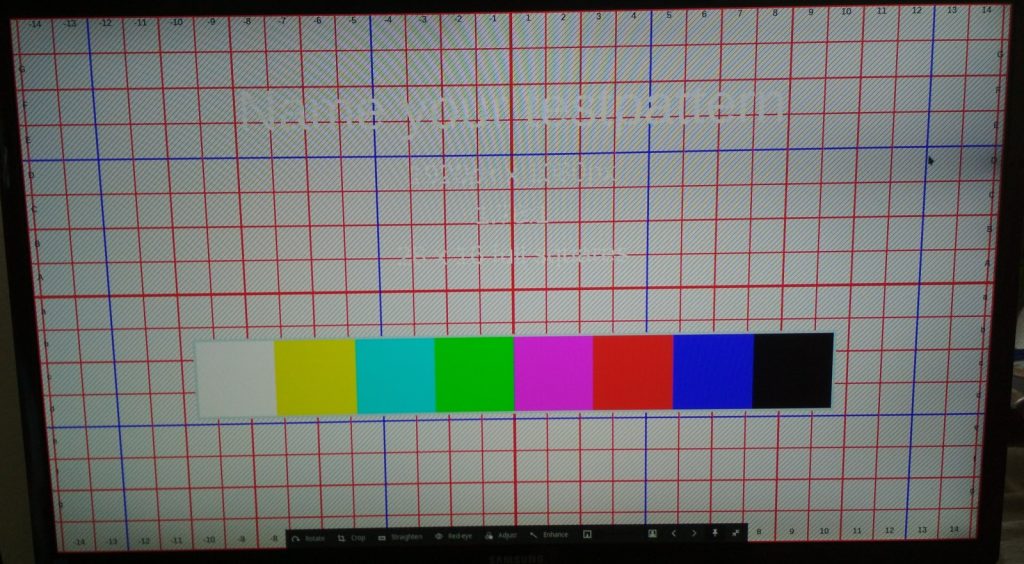
By carefully removing the wires from the LED connector that corresponds to the broken channel I could verify that the rest of the screen is working properly. It stayed on and displayed a picture. Albeit, there was a huge dark streak where part of the backlight is missing. That means we need to remove the backlight and fix it. After some more disassembly, the LEDs could be removed. With a multimeter in diode test mode one of the LEDs was found to be non working. Since I don’t have the correct LED or even something similar (those LEDs seem to have a Vf of 5.5V), the solution was to solder in a zener diode with 5.6V. Fortunately my parts drawer has a set of various zeners.
Now the screen just needs to be assembled again.
More disassembly pics