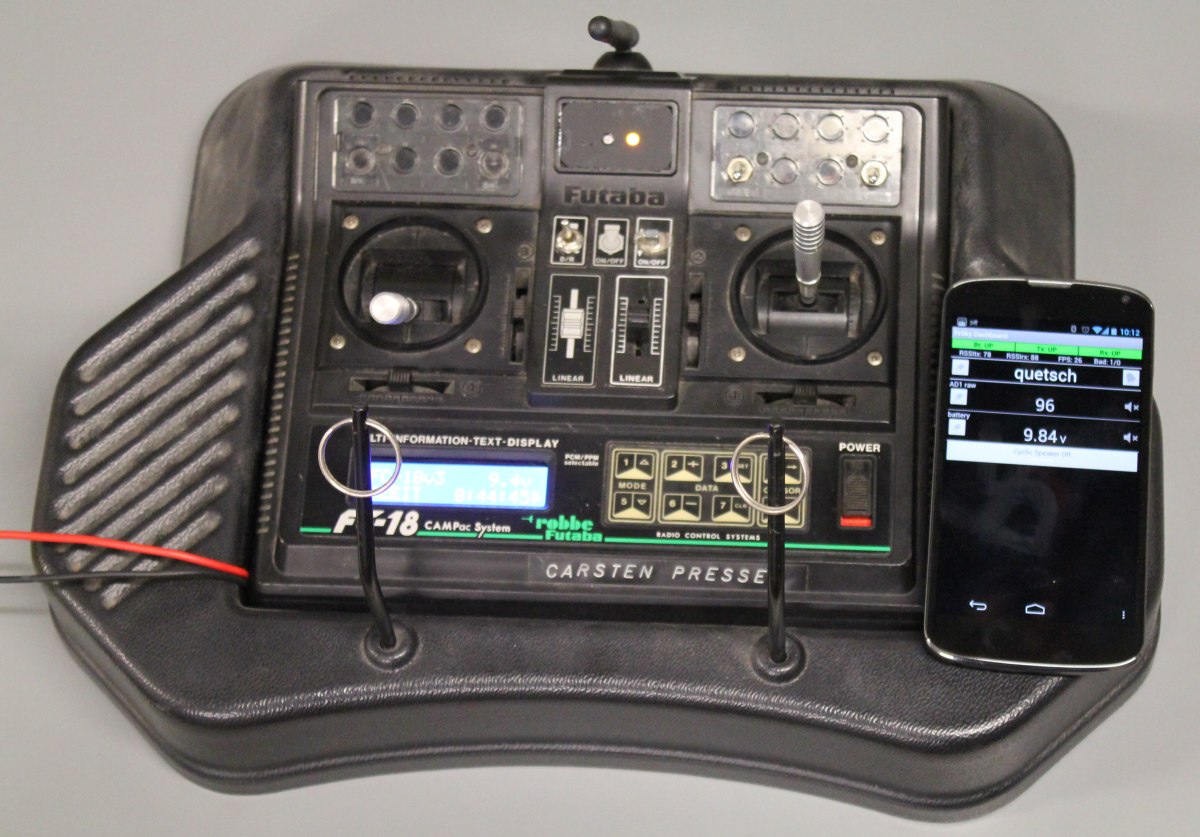

Today i finished the modification of my remote 🙂
Its an old Futaba FC18v3. I still had that one left from my first experiences with model aircrafts 15 years ago. I hate throwing stuff away, so I bought some new bits to make it usable again.
Now it features:
- Powered with a 3C-Lipo (not shown in the pictures)
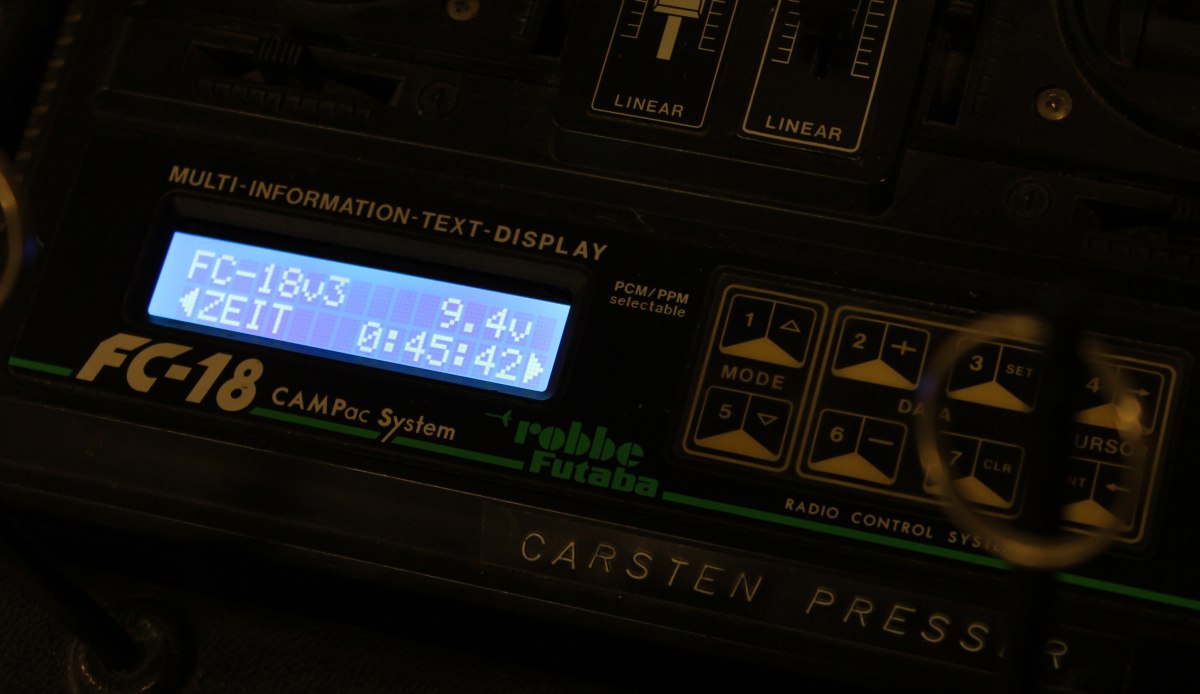
- Blue Backlight LC-Display
- FrSky DHT Transmitter module
- Bluetooth interface for FrSky telemetry
The complete setup draws about 150mA @9V (with all modules powered on). That will make it run more than 10hours with a 1800mAh LiPo.
The Bluetooth and LCD module were both ordered from Ebay, the FrSky stuff from Hobbyking.
The installation of the different parts was pretty straightforward. I removed the old 40Mhz-PPM-Transmitter and soldered the 3 wires for the new 2.4Ghz module. The old antenna was removed, also i moved the CAMPAC module in order to use that space for the additional LED-and-pushbutton-PCB of the trasmitter module. The Bluetooth module only has 4 pins, GND,+5V,Rx,Tx which i all hooked up to the FrSky. Since the FrSky-Pins are RS232, i modded the module to output TTL-Signals by accessing the UART directly. Unfortunately i didn document that, but you can find several images on google how to do that.
Changing the LCD-Module also was quite easy. Its a standart HD44780 module with a 14Pin connector. Some of the pins are not used because the FC18 runs the display in 4bit-mode. Basically i just removed the old module and soldered the wires 1:1 to the new one. Then i added two wires for the backlight which also runs of 5V.
The last part was setting up data display on my smartphone. Fortunately some other people already took care of that. I just installed FrSky Dashboard. Done 🙂