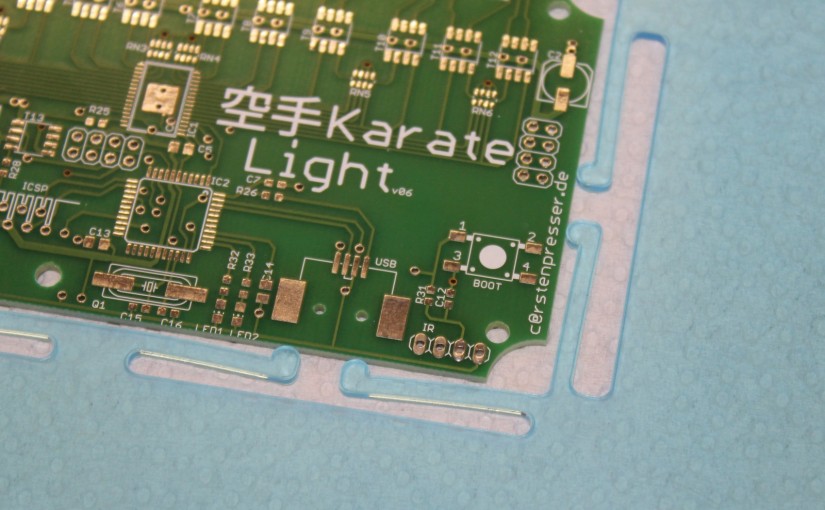
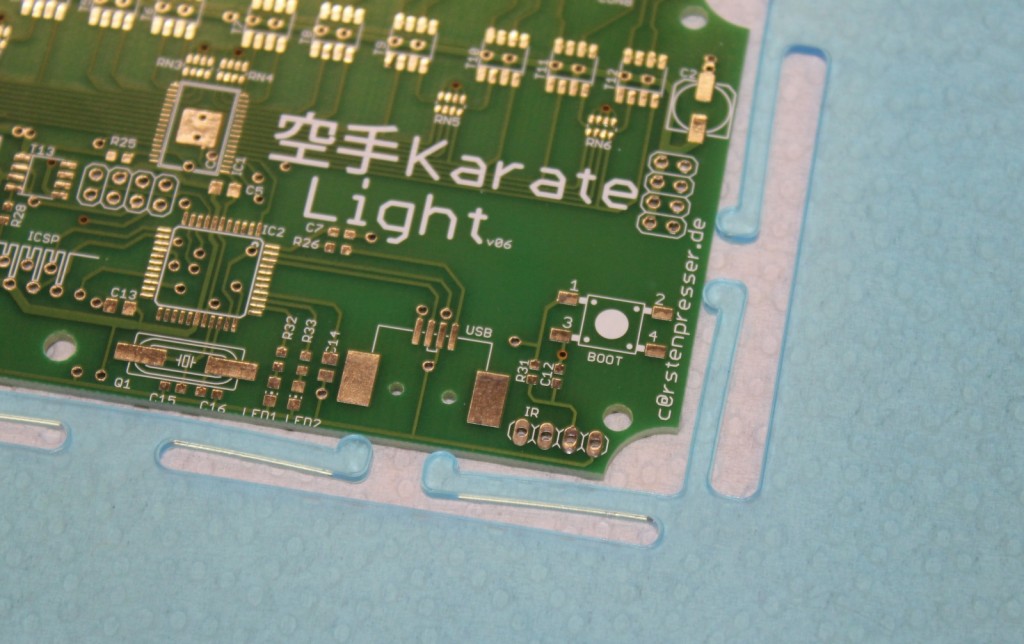
PCB fixture for applying solderpaste

I have done a few PCBs using the reflow  process. To apply the solder-paste using a stencil one requires some sort of fixture to hold the PCB.

So far I helped myself with other PCB Material which I glued on the table to get to the same height. This is okay when only one PCB needs to be made. However, when doing multiple PCBs on after another, the position needs to be constant for every board.

So I designed a simple spring loaded fixture to hold the PCB in place. Its made out of 1.5mm acrylic.

PCB fixture springs

Lasercut MyLittlePony CollectibleCardGame Action-Tokens

Recently I bought a 2-Player Starterdeck for the “My Litte Pony” CCG. One of the aspects of the game is managing you ActionsPoints.

The StarterBox did include some counters/tokens made from thin cartboard, but those are not easy to use. I also tried using dice to keep track of the actionpoints, but thats also not optimal.

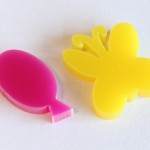
Thats why I decided to create some tokens:

The material I used is Perspex (color-codes 2TL2 and 4TL1) in 3mm thickness.


The Design is based on My Little Pony Printable Cutie Marks which can be found on Thingiverse. I did some small modifications. The butterfly had some parts which were to small to lasercut; I enlarged those.

You can download the modified .eps files here: MLP.CCG.Tokens

Using OLA to controll a LED-Sign

Earlier this year my colleague Rüdiger and me build some LED-Letters and mounted them to the building front. The letters themselfes are made of 20mm Acrylic with buildin RGB-LEDs. A 3mm black Acrylic plate was added on top to cover the LEDs and generate more contrast for daylight conditions.

The control is build around the OLA Software. A Raspberry-Pi drives all the components. Two KarateLight devices provide 8 RGB channels each. A USB-Hub (which also poweres the Pi) and a USB-WLAN-Stick make the setup complete. The LEDs are powered by two 320Watt switching-mode PSU. Everyhting fits nicely into a steel cabinet which makes this thing waterproof. In order to organize the cables coming in at the bottom I build two combs which clamp the cables into place.

Since i dont have a cool DMX Application i wrote a few lines of python to generate a simple animation. Basically all it does is calculate a gauss-distribusion which is then shifted from left to right. Its quite simple and not well implemented, but it works: ola.python_fader.

I then use ola_recorder to store a single run of the script into a file. Playback is also done with ola_recorder running inside screen.

Adding alignment lasers to my laser-cutter

I bought my el-cheapo chinese lasercutter without a pilot laser. They did offer a visible laser for alingment, but that was just a simple laser-pointer mounted next to the main-laser-nozzle. It was kind of expensive (despite the fact that it was a really simple non-coaxial-design) so i decided to build my own.

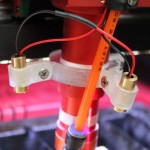
From ebay i got two laser-modules in a cylindrical housing for about 21€ including shipping which already produce a line (they have a prism build in).

I  order to mount them i designed and build a bracket out of 12mm acrylic. Basically its a ring with a slot, i can slide it up the nozzle and fix its positin by tightening a screw. You can see how it looks mounted to the machine in the first picture.

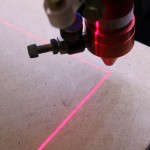
Unfortunately i wasnt able to mount it further down on the nozzle. Now the laser angle is to steep and part of the laser is blocked by the nozzle itself (you can see the laser on the nozzle in the second picture). I managed to adjust it in a way that at least the pilot lasers cross in one point. Alignment in parallel to the working area required a little patience, but somehow i managed:

As a last job i wired everything up and slid the cables through the drag-chain. Since i was already soldering and installing additional wires, i also added two LED-Stripes to the portal to have better illumination while working.